Token Gating
Token gating gives you the ability to control access to your content by requiring users to pay a certain amount of tokens before they can view it.
This is a great way to monetize your content and reward your most loyal users. In this guide, we will show you how to use token gating effectively.
Setting up Token Gating
Please ensure you have configured your Web3 settings. Make sure you have set the minimum amount of tokens required to view walled content and participate in comments in the Token Gating section.
Comments will all be gated automatically if the minimum amount of tokens required is greater than 0.
Content will be gated if you add the wall element to the content block in the editor. You have the ability to wall content at any point in the content.
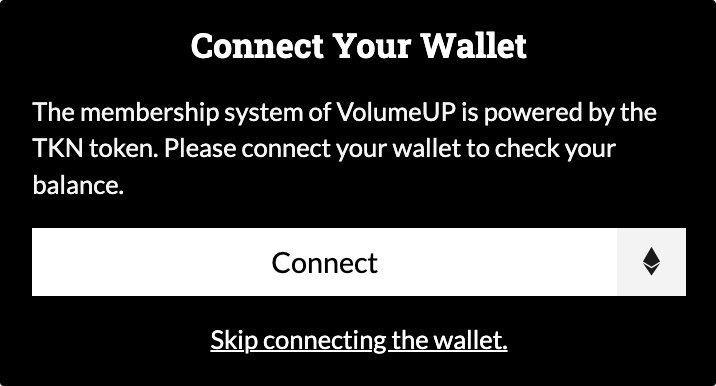
When users try to access gated content, they will be prompted to connect with their wallet and pay the specified amount of tokens to unlock the content.
Selective Gating with Wall Element
In addition to automatically gating all content, you can also selectively gate content with the wall element. This is an element in our drag-n-drop builder that can be placed anywhere in any piece of content to wall the content and force users to connect with their wallet at that point in the content.
Using the Wall Element
To use the wall element:
- Navigate to the page builder and select the page you want to edit.
- Add the wall element to the content block where you want to gate the content.
- Customize the wall element by setting the minimum amount of tokens required to unlock the content.
- Publish the page.
- Once the page is published, the content will be gated at the wall element, requiring users to connect with their wallets and pay the specified amount of tokens to unlock the content.
Customization
Both the comment wall and content wall can be customized to match your brand.
Comment Wall
To customize the colors and style for the comment wall, navigate to Settings -> Theme -> Comment Wall.
Here you can choose a color scheme for the comment wall, including the background color, text color, link color, and accent color. You can also choose a font family and font size for the comment wall.
Content Wall
To customize the colors and style for the content wall, navigate to Settings -> Theme -> Wall.
Here you can choose a color scheme for the content wall, including the background color, text color, link color, and accent color. You can also choose a font family and font size for the content wall.